Combat in Mortal Shell is brutal. A couple of hits from an enemy will chunk your health bar down to nothing and it’s easy to totally mistime a dodge. Parrying is an option, but it’s a tough one. Time it perfectly and you’ll not only deal massive damage, but also hit them with a special effect too. To even parry, you’ll need a special item. And then it’s a case of getting to grips with the timing and execution. Below we’ll explain all.
How to parry in Mortal Shell
Here’s how to get your parrying career started.
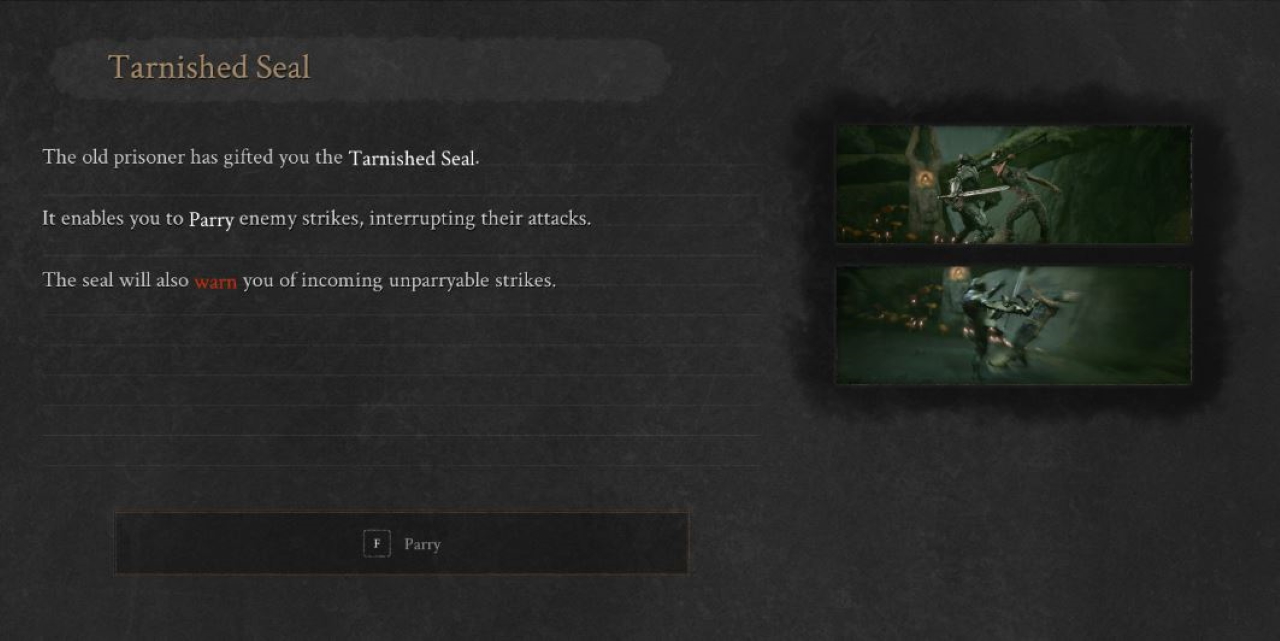
Where to get the Tarnished Seal
First things first, you’ll need to get hold of the Tarnished Seal which is found in the hub area of Fallgrim. You’ll emerge at Fallgrim once you’ve acquired Harros’ Shell and passed through the small rocky tunnel. Proceed forwards and down the slope once you’ve seen “Fallgrim” appear on your screen. Your camera will auto pan to the hub area. Take the path the camera focuses on as it pans away. Follow it up to the top, until you reach a large, lone tree. Hug the left and you’ll spot a doorway with a lantern, this is the entrance to the hub area. Once you’re inside, speak to Sister Genessa and choose to rest up if you want to. Wander up the staircase opposite her and you’ll arrive at another level. You’ll see a wall with four weapon slots and an open entrance. Head through it picking up the Tattered Vestment on your way, then walk up the staircase to the right. This’ll take you right up to the weird, bird monster thing. Finally, choose to “Remove Seal” and the Tarnished Seal will be yours!
How does parrying work?
To parry in Mortal Shell, press F as the enemy swings to attack. Timing is everything here and I’ve found Mortal Shell’s parrying is less about being reactive and more about anticipation. Essentially, you often need to hit parry just as the enemy starts their “I’ve just started swinging” animation, as opposed to leaving it until the last second.
You can practice parry timing by watching how long it takes to raise the Tarnished Seal in the air. The moment it glows is the moment you’ll parry an enemy attack. When you’re in combat, try and picture how long this animation takes as you attempt those parries.
Parrying, extra things you should know
The Tarnished Seal will light up red when an attack cannot be parried. So make sure you’re ready to dodge. If you have at least one bar of Resolve, you can heal off a parry by performing an Empowered Riposte. You’ll build Resolve as you attack enemies, parry attacks, and absorb hits with Harden. There are four orange Resolve bars in total, just above your health towards the bottom left of the screen.
The icon just to the left of your health and stamina bar is important here. If it’s dull, you won’t perform a special riposte or heal off a parry. If it’s lit up, then you will. As you hand Glands back to the big bird monster in the starting hub area, you’ll unlock special moves to make your Empowered Riposte even stronger. You can switch between these at any point by pressing Z. These upgrades are exceptionally strong, especially against bosses.

