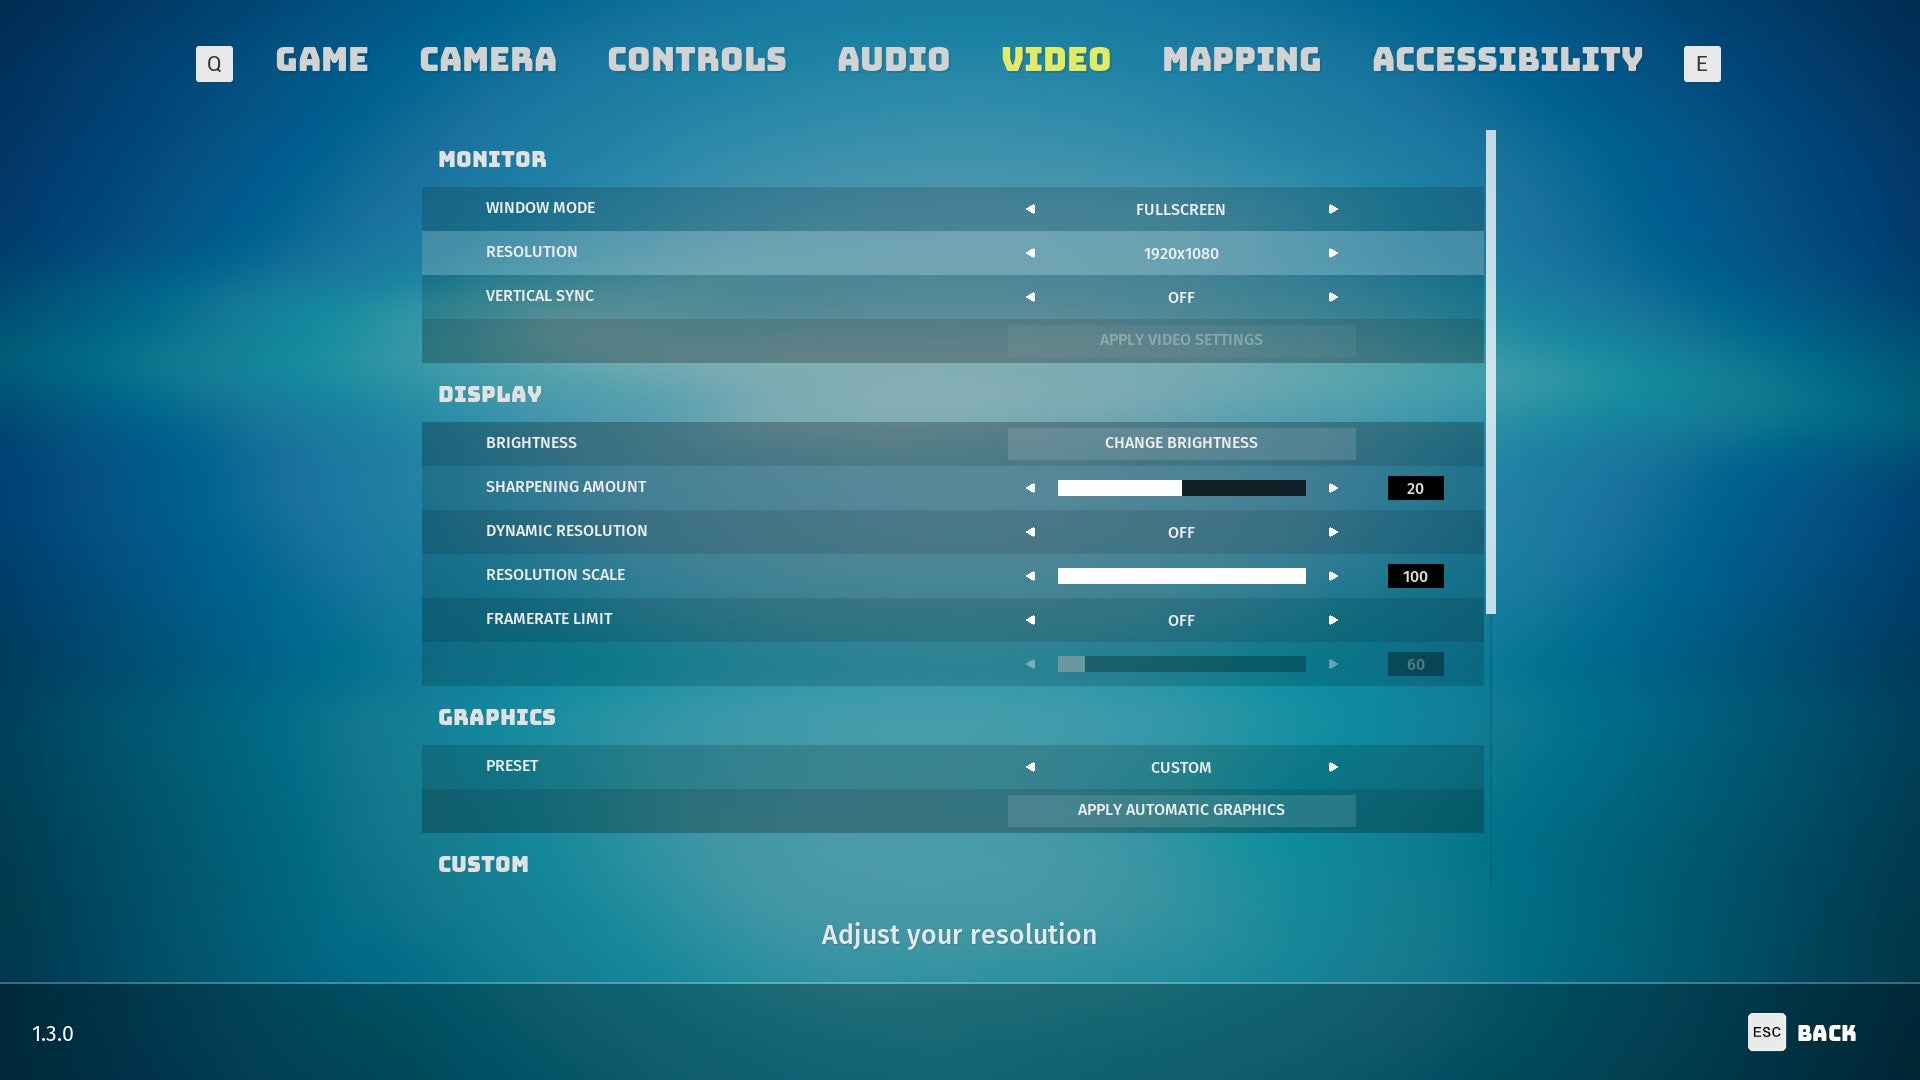
You can read more about what we thought of the game over in our Biomutant review, and if you want more advice on how to play the game, then be sure to read our guides team’s extensive Biomutant tips and tricks article, where we’ll tell you what the best class is as well as how you can turn off the game’s pesky narrator if you find it too annoying. In this article, though, I’m going to focus on how to get the game running smoothly using Biomutant’s graphics menu. You’ll find everything you need in the Video tab of the main Settings menu, which contains your resolution options, various display settings, and the game’s four main graphics presets.
Biomutant: how to get the best settings
I tested Biomutant with an Nvidia GeForce GTX 970 - one of the oldest graphics cards I currently have to hand, and a GPU that just about meets the game’s minimum PC requirements (which I’ve listed in full at the bottom of this article). The rest of my test PC was well above Biomutant’s recommended requirements (I currently have an AMD Ryzen 5 5600X CPU and 16GB of RAM in there), which will naturally help pull up the frame rate a bit more compared to systems that are the same age as the GTX 970. Hopefully, though, you’ll still see similar boosts to what I’ve described below regardless of what kind of PC you have at home. As a baseline, I found the GTX 970 ran best on the game’s Medium preset, producing a steady frame rate of 55-62fps at 1920x1080 when running around the game’s vast open world. High was just about doable at 36-47fps, but it tended to get a bit choppy during big fight scenes. With the settings tweaks below, though, I was able to get a proper fixed 60fps on Medium with my GTX 970, as well as much more playable speeds on High for those of you who really want to push the boat out. Without further ado, then, these are the settings tweaks that will help give you the biggest frame rate boost when playing Biomutant on PC:
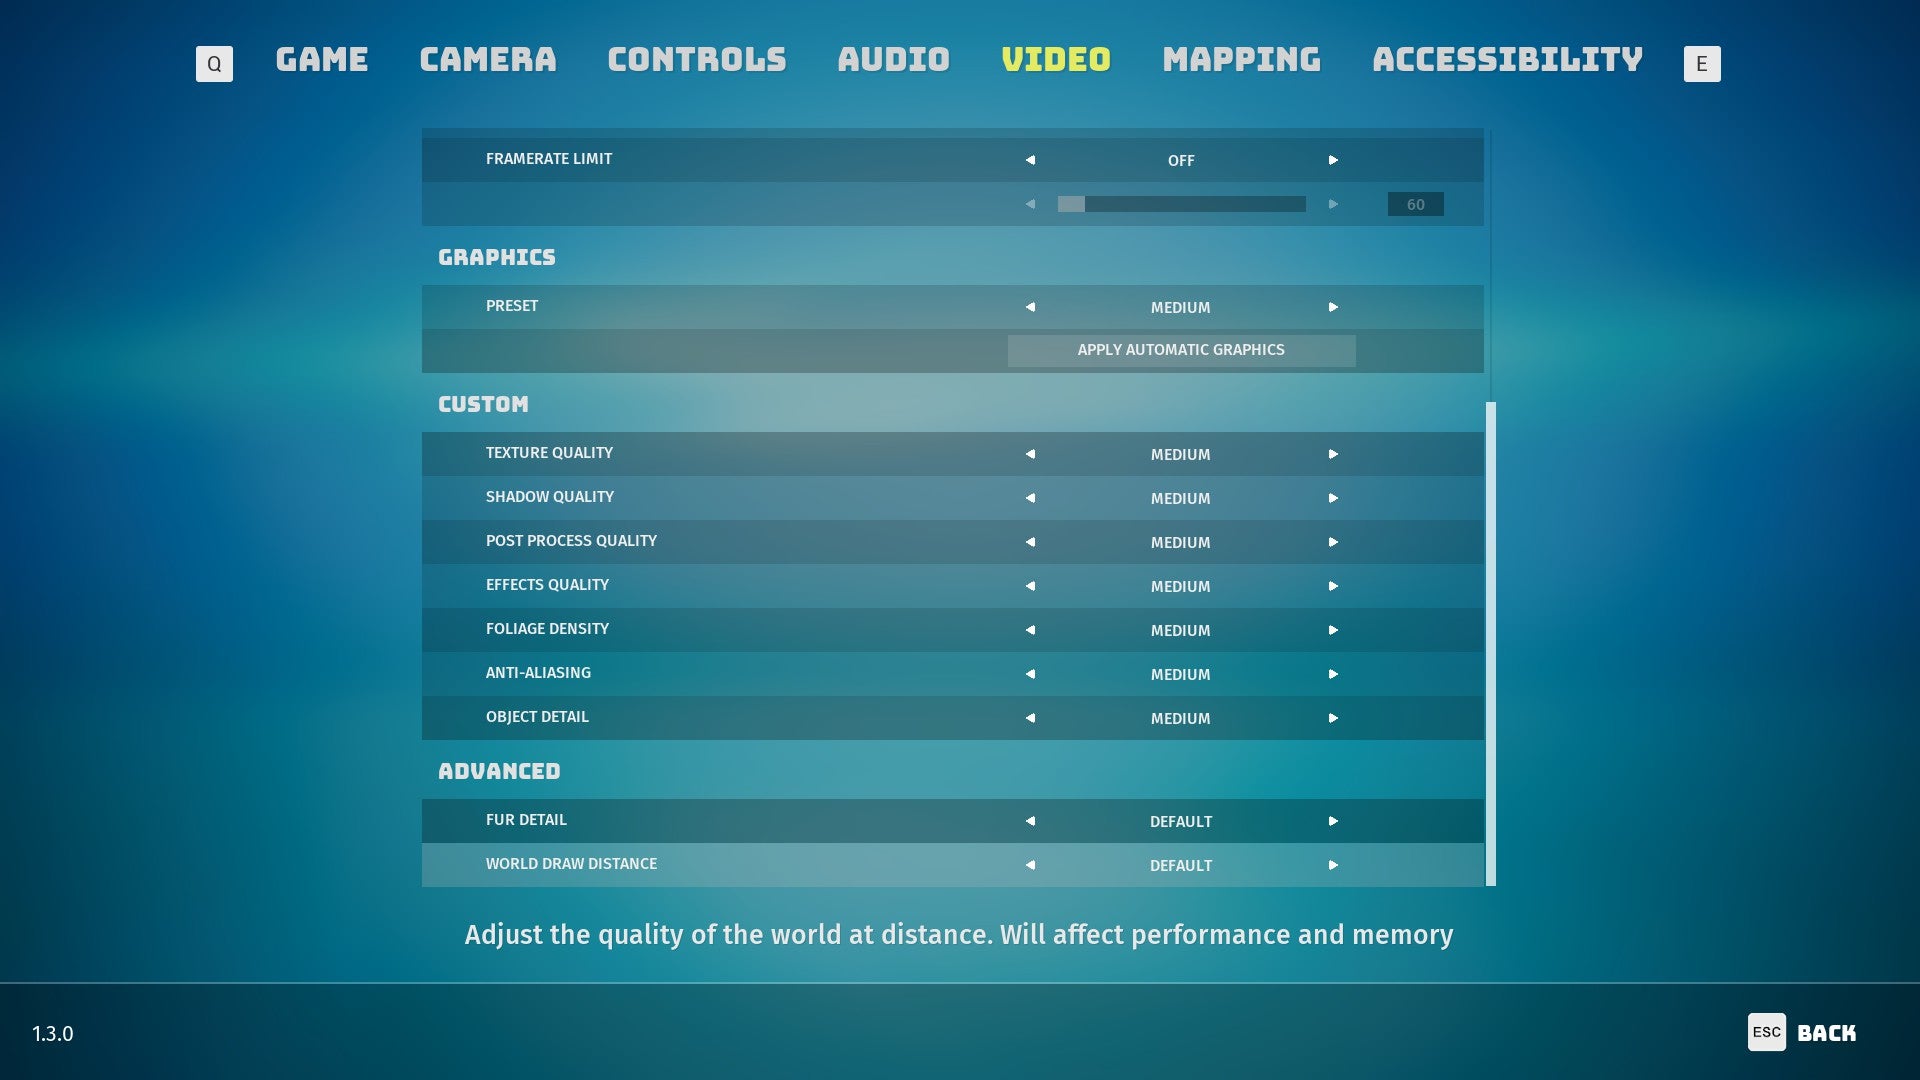
Turn down Shadow Quality
This is one of the easiest ways to improve your PC’s frame rate in Biomutant, instantly giving you back another 5fps or so just by knocking it down a notch. There are a lot of shadows in this vast open world, whether it’s shadows cast by the large, swaying trees and the patches of long grass or the ones on your mutant’s own customisable costumes. The fewer of them the game has to deal with, the smoother your frame rate will be.
Turn down Post Process Quality
Like Shadow Quality, knocking down the Post Process Quality setting will give you another boost of roughly 5fps. Taken together, that’s an instant 10-odd fps bump right there, just by turning down two settings. Indeed, when I had the rest of the game’s settings on Medium and these two on Low, my frame rate went from 55-62fps to a super smooth 62-70fps, helping you maintain a locked 60fps at 1080p.
Turn on Dynamic Resolution
If you’re still struggling to hit 60fps with the two settings tweaks above, then I’d recommend turning on Dynamic Resolution, which is in the Display section of the Video tab above the main graphics settings. This will adjust your game’s resolution automatically on the fly to help maintain a steady frame rate, helping you to keep more of those higher graphics settings in play without having to make lots of manual settings tweaks. Of course, since it’s the resolution you’re sacrificing here, the game may start to get a bit fuzzy-looking if you set the preset too high. However, as long as you keep your expectations in check, this is a good, easy way of letting the game do the hard work for you without you having to lift a finger.
Lower Resolution Scale
Alternatively, if you don’t like the idea of the game’s resolution chopping and changing on the fly, another way to boost your frame rate is to lower the Resolution Scale. This is set to 100 by default, which means it will render the game at 100% of your chosen monitor resolution. Bump that down to 90 or 95, though, and you’re effectively rendering the game at 90% or 95% of your chosen resolution and having it upscaled back up to whatever your target resolution is. This can help take some of the load off your GPU. It works better at higher resolutions, but even those with 1080p monitors can still use it to get a sharper image than they would normally just by opting for a lower resolution such as 1600x900. If your target is 1920x1080, for example, that setting the resolution scale to 95 means you’re effectively running the game at 1824x1026, while setting it to 90 will get you an in-game resolution of 1728x972, both of which will look a lot sharper than simply setting to your monitor to 1600x900. It’s a small reduction, but one that can give struggling graphics cards a serious frame rate boost if you don’t want to compromise on graphical fidelity elsewhere.
Biomutant graphics settings explained
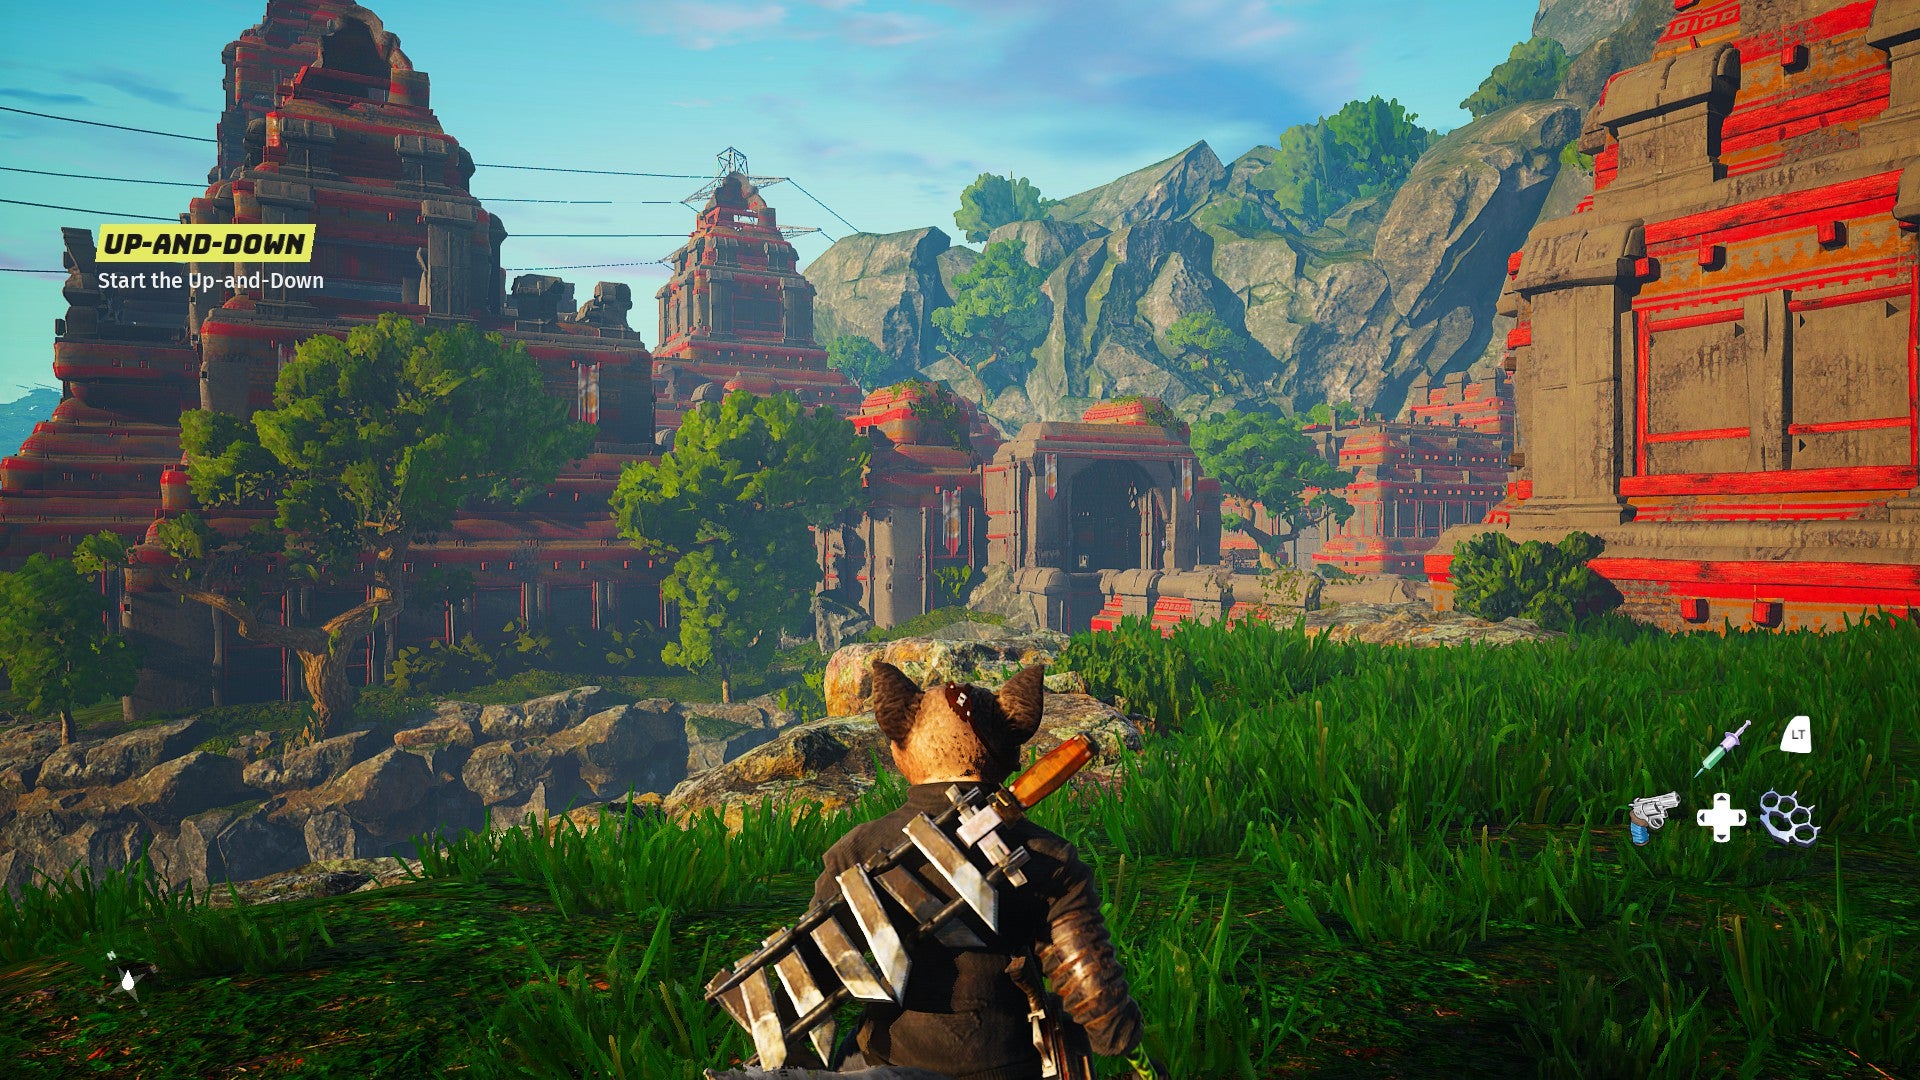
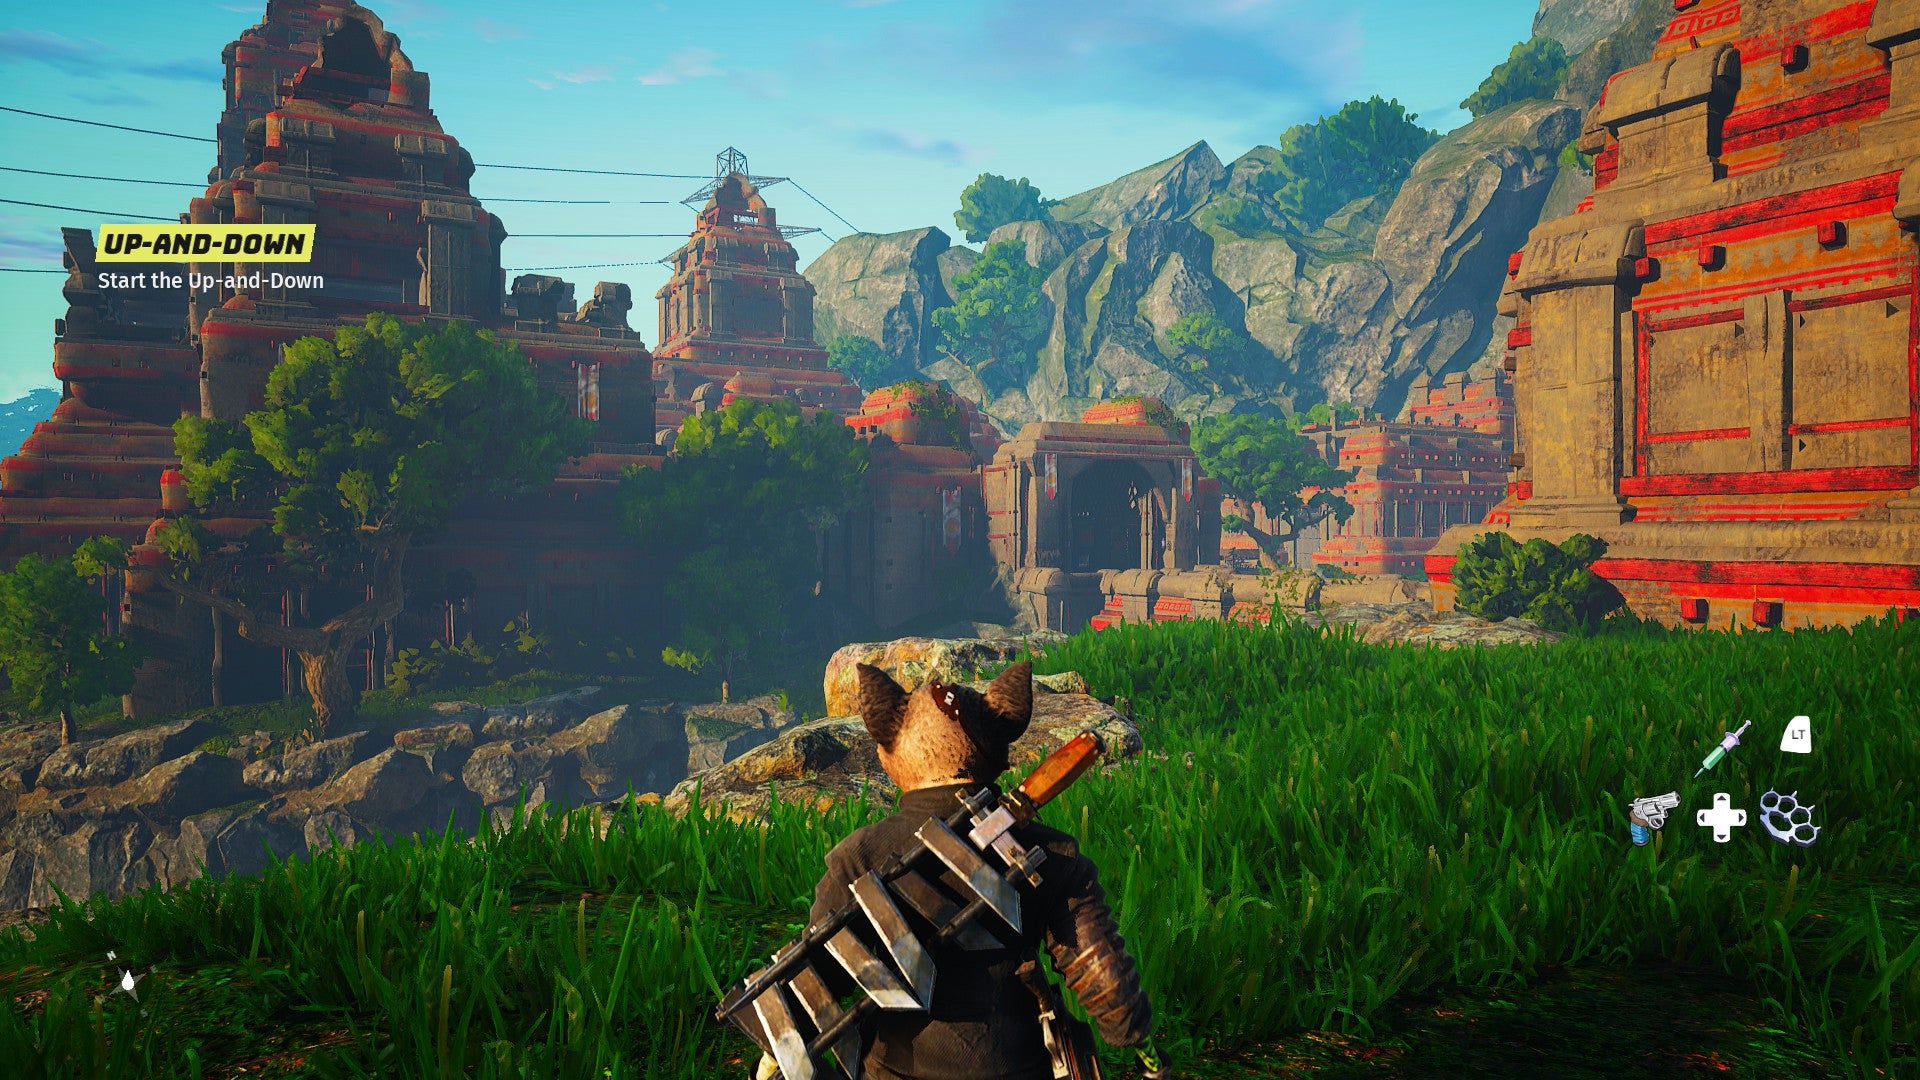
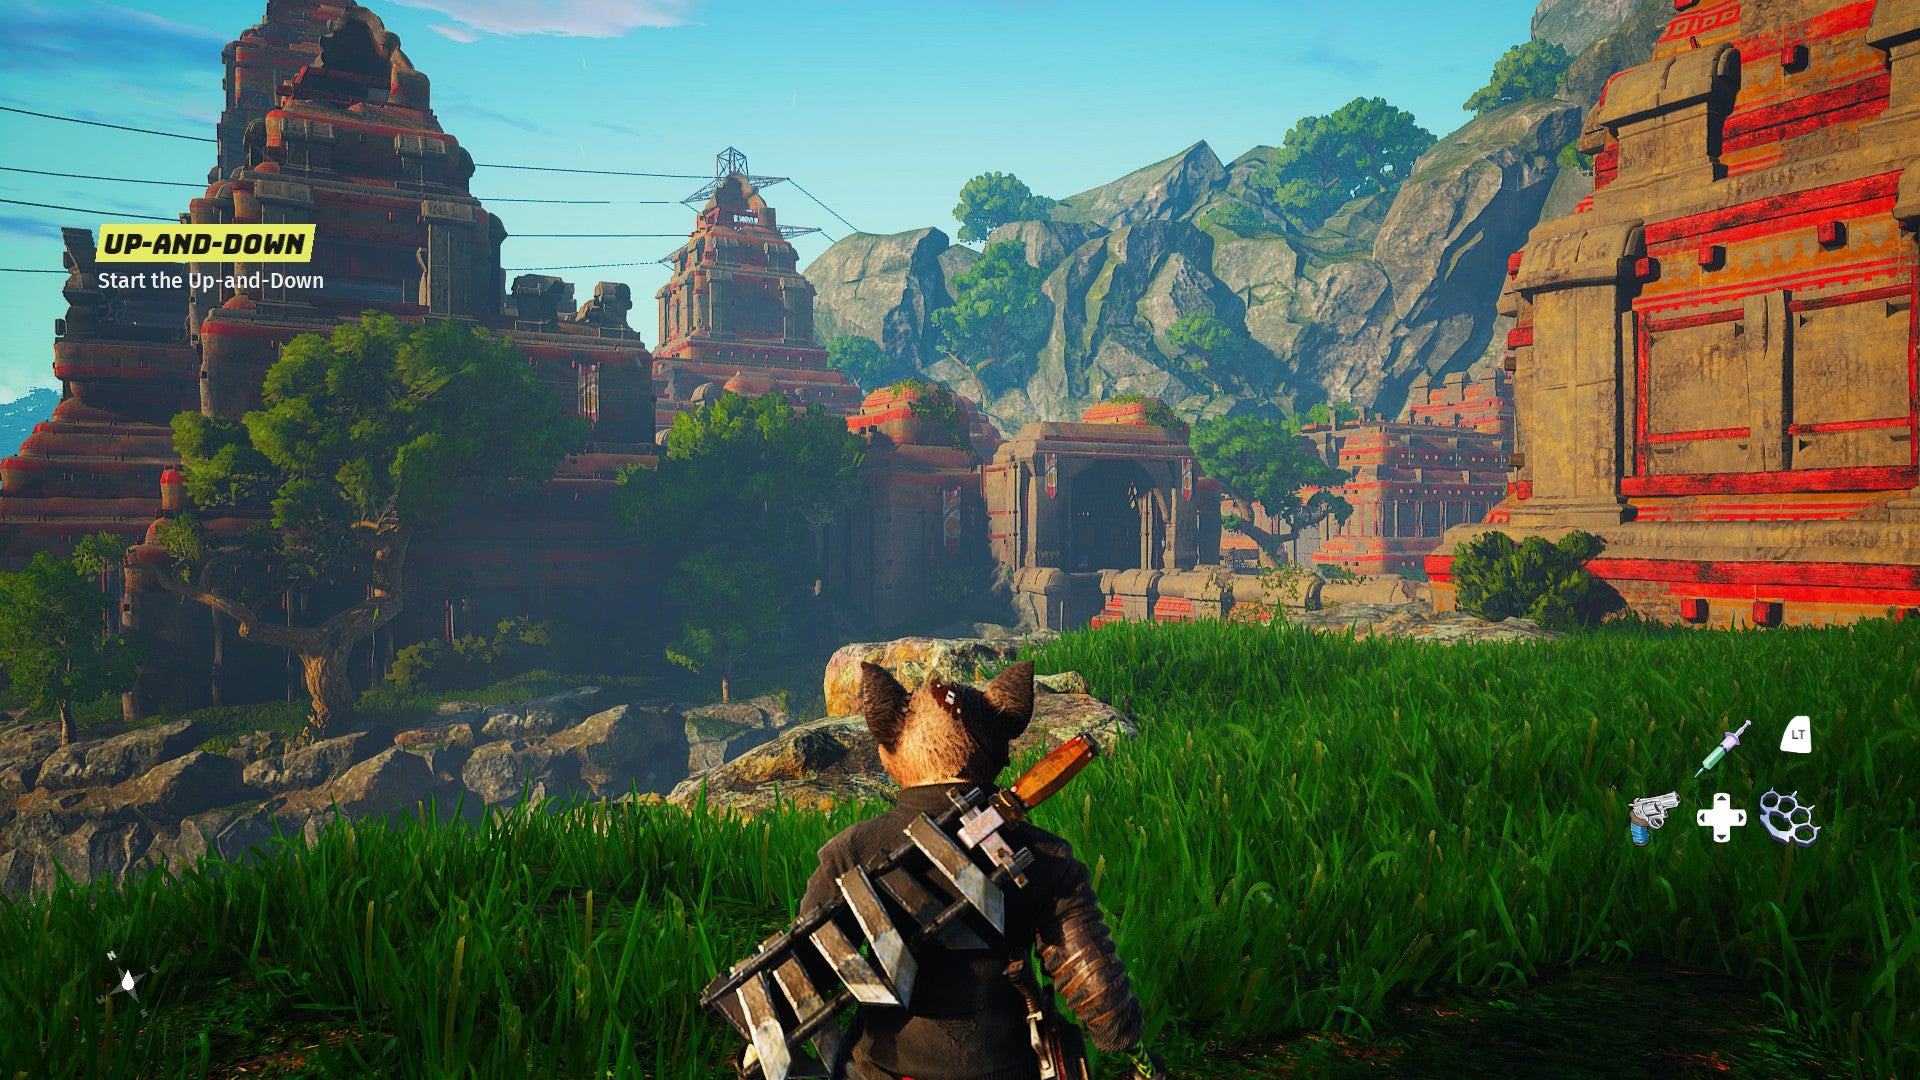
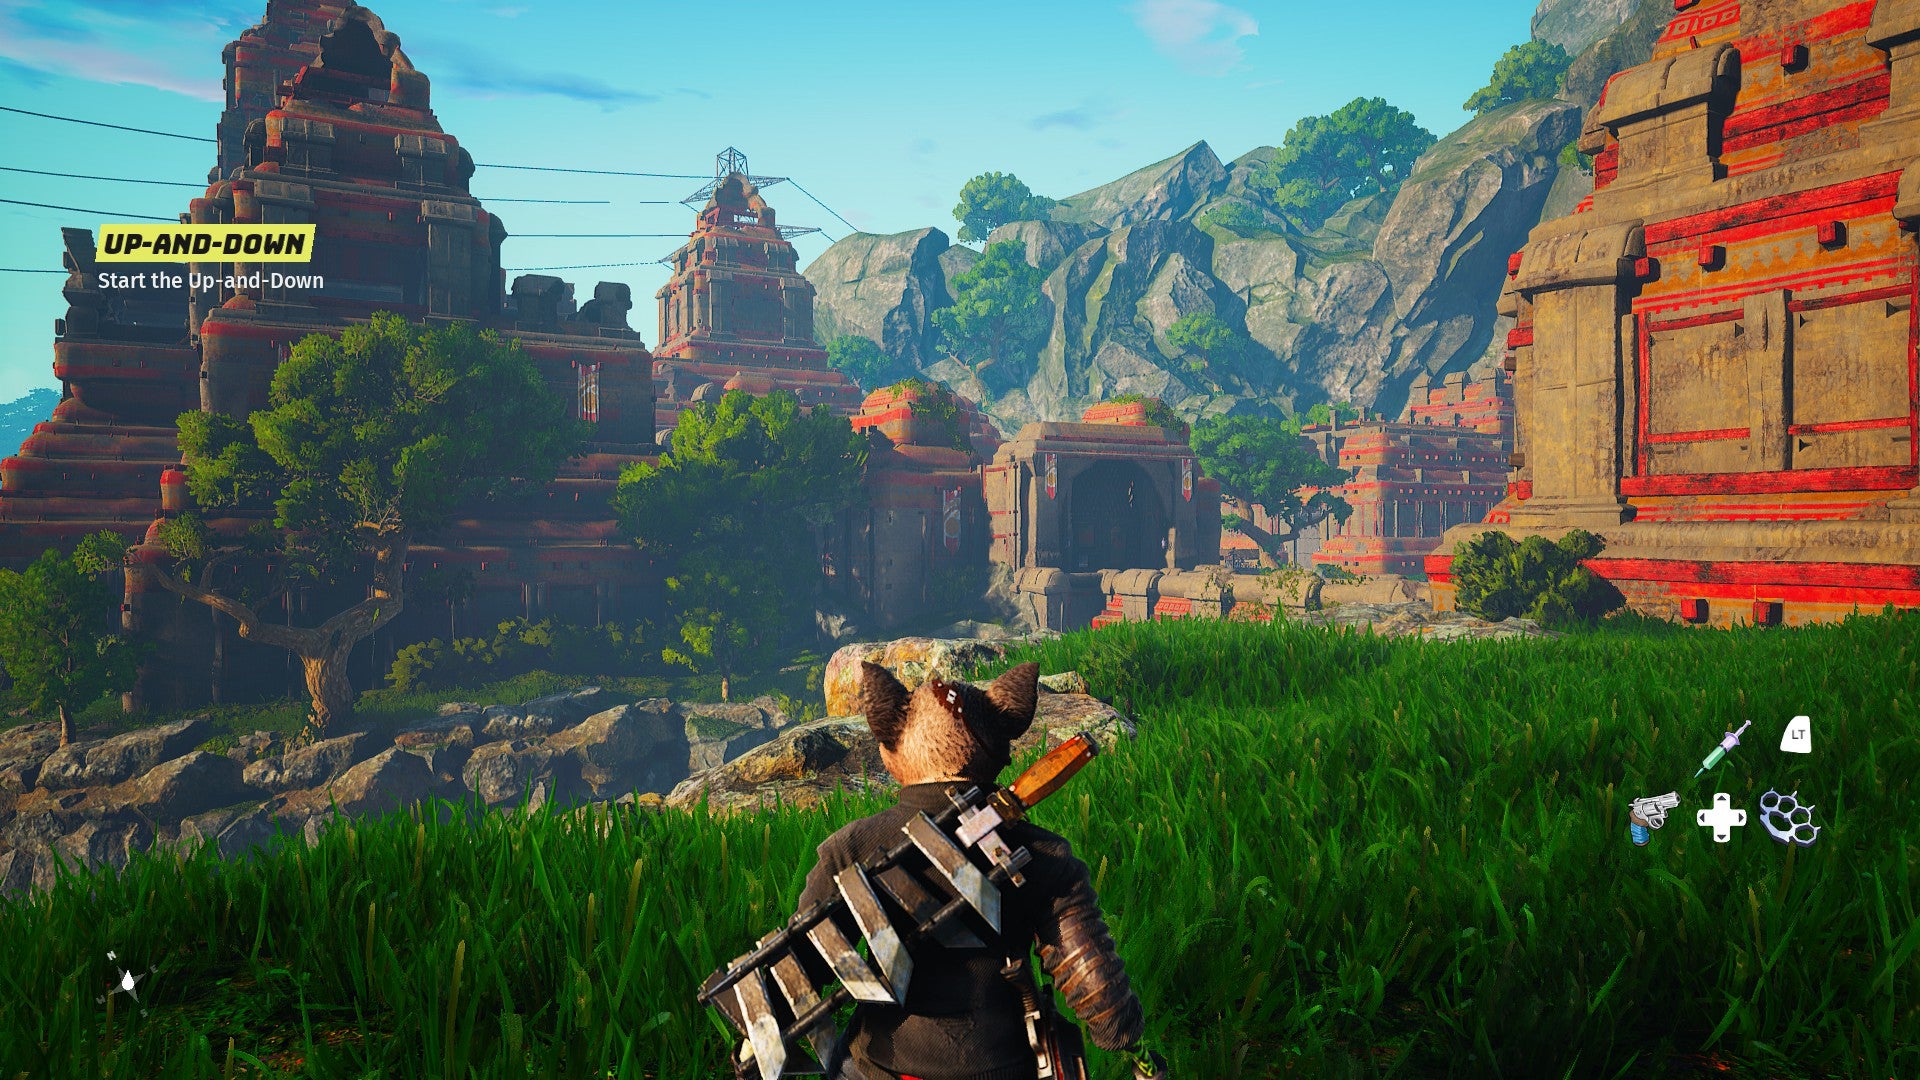
In fairness, Biomutant’s stylised, cartoonish world looks pretty handsome regardless of which graphics preset you end up going for. There are four presets in total: Low, Medium, High and Max, and as you can see from the Graphics menu below, all of the individual graphics options correspond to those four settings. Everything is set to Medium on Medium, and everything is set to Max on Max. Most of the graphics settings are pretty self-explanatory. Texture Quality and Object Quality are very closely related. The former lets you adjust the level of detail in all in-game textures, such as buildings, rocks and other kinds of surfaces you’ll find in the world, while the latter is specifically tied to in-game objects. Effects Quality is similar, too, as this not only lets you adjust the quality of in-game effects (as its name suggests) but also the quality of materials, such as all the different clothes and gear you’ll be parading about in over the course of the game. Meanwhile, Shadow Quality dictates how accurate and realistic Biomutant’s dynamic, in-game shadows are. Foliage Density is an easy one, too, as this lets you adjust how many trees and bushes and how much long grass appear in the overworld. The more trees you’ve got, the more shadows all those branches and leaves are going to cast in the sunshine. Anti-Aliasing, on the other hand, is another common graphics setting that helps to make sharp lines and jagged object edges look nice and soft, smoothing out those unsightly pixels to make things look a lot more natural. Indeed, the only setting that really needs unpacking is Post Processing Quality. This covers a wide variety of extra fancy graphics effects such as ambient occlusion (soft lighting), bloom (halo effects on bright objects such as lights), lens flares, auto exposure (which simulates changes in brightness when you move from dark to light areas) and more. It’s not clear how many of these effects Biomutant is actually using, but they’re effectively the graphical icing on your in-game cake, those little details that help make the world look extra real and life-like. Alas, there is currently no Motion Blur setting, but Experiment 101 have said they’ll be adding this in sometime after launch. There are also two more Advanced settings (Fur Detail and World Draw Distance) that are set to Default on all four graphics presets, but you can manually change these to Higher or Max as you see fit. Fur Detail, as you might expect, makes your mutant and other characters look more like proper fur, while World Draw Distance increases how much extra detail you can see in very far away landscapes on the horizon. Here’s what all four presets look like in practice. On Low, there are fewer shadows in the distance and less grass cover in the foreground, and there’s less dirt and muck on the bridge tower to the right, too. The trees are also a bit fuzzier-looking perhaps, but fundamentally it’s still pretty decent-looking preset. I’ve definitely seen worse Low options over the years, so there’s no need to be too disappointed if this is the best your PC can manage. Medium bumps things up a notch, introducing more shadows and more grass cover to give the world a greater sense of depth and realism. High is very similar, but gives the trees and bushes a much more defined and detailed outline. Max increases the grass cover further and adds in more realistic lighting, while the fully maxed out setting has Fur Detail and World Draw Distance set to max as well. From what I can make out, though, any improvements they bring must be pretty small, as to my eyes everything looks pretty darn similar to the regular Max preset.
Biomutant PC requirements
Finally, here are Biomutant’s minimum and recommended PC specifications, in case you need a reminder. Experiment 101 haven’t detailed exactly what kind of performance you can expect to see from either set of requirements, but as we’ve just seen from my GTX 970 testing, I’d imagine that the minimum spec is geared toward 60fps on either Low or Medium settings at 1080p, while the recommended spec should get you 60fps on High or above at 1080p. Biomutant also supports ultrawide gaming monitors, according to publisher THQ Nordic, although again, they haven’t been forthcoming about what kind of PC spec you’ll need to run the game at ultrawide resolutions. Alas, I don’t currently have an ultrawide monitor to hand to test this out myself (I’ll update this article with more info when I do), so for now you’ll have to make do with my general graphics card recommendations for playing games in ultrawide: which is currently at least an Nvidia GeForce RTX 2070 Super or AMD Radeon RX 5700 XT. The rest of the recommended spec should do you just fine, though. Remember, if you want more advice on how to play Biomutant and make the most of its various systems, be sure to check out our extensive list of Biomutant guides as well.